
Texture art is an art form that uses raised areas and grooves to create a sense of depth. Light hits the raised areas and casts shadows in the grooves, giving even a single color a three-dimensional appearance. When viewing a piece, first look for the highest-looking areas and the direction of the shadows.
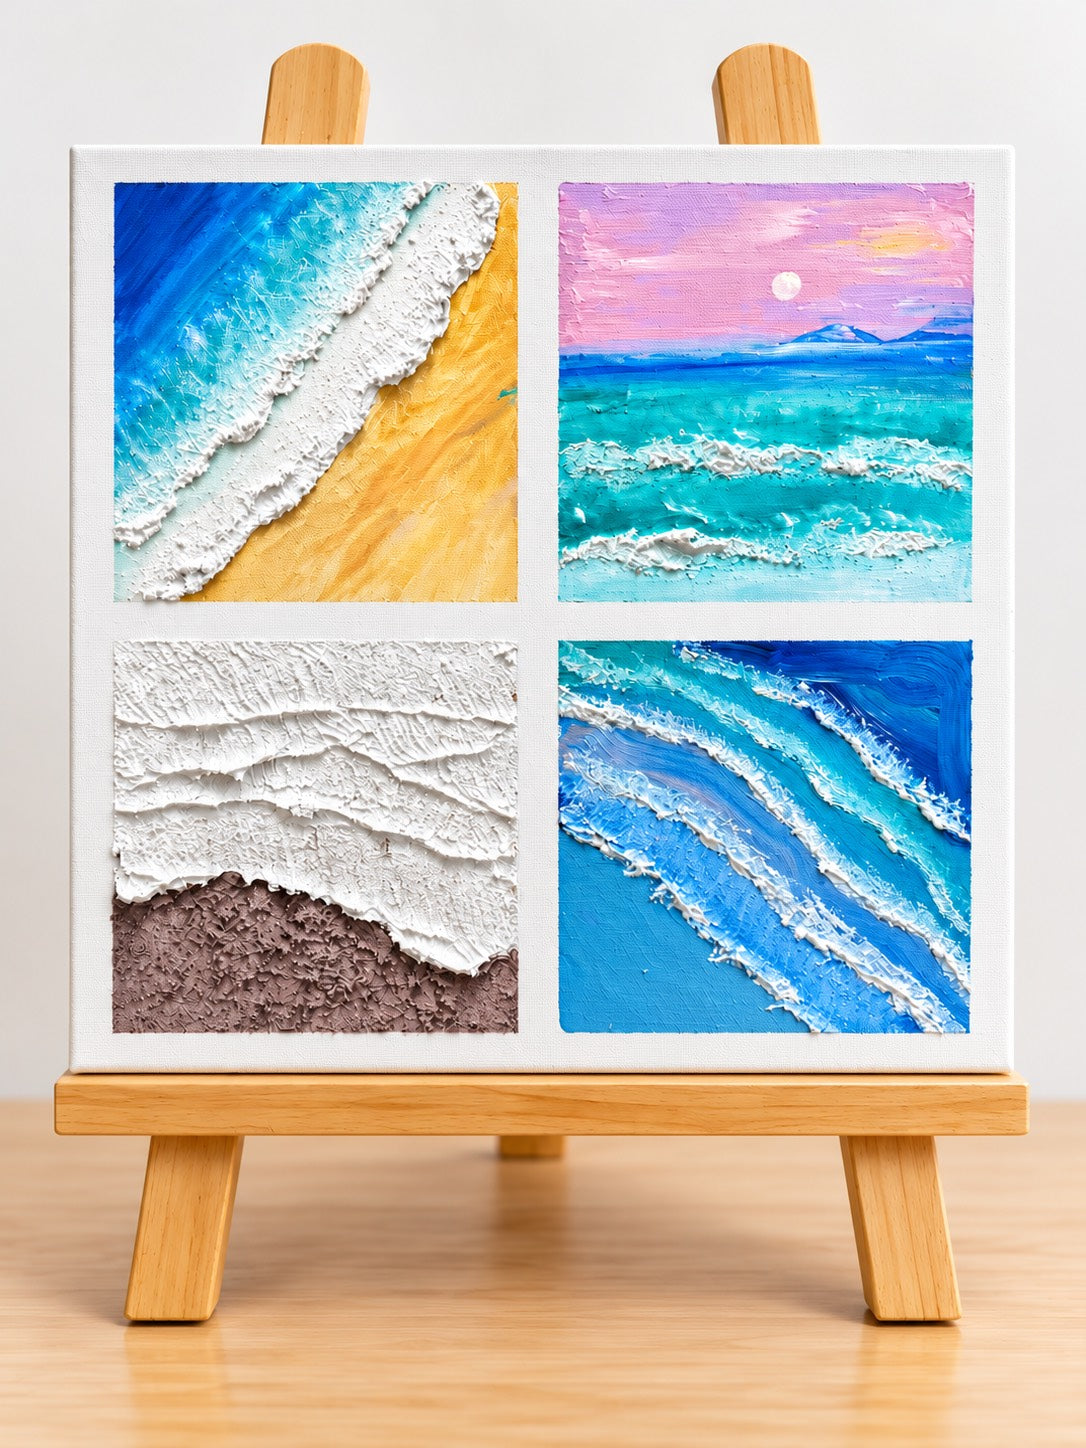
Materials and Tools for Creating Texture
Acrylic modeling pastes vary in how well they hold their shape, their weight, and the texture of their finished surfaces. The recommended primer and thickness depend on the material. Read the product instructions before use, and apply a small amount to a scrap piece, observing it until it is completely dry. Checking whether the fine lines visible before drying remain the same after drying will help you choose the right tool for your project.
Using Different Parts of the Knife: Flat, Tip, and Edge
Pressing the paste with the broad flat side of a palette knife and pulling it back creates smooth surfaces. Holding the tip slightly upright allows you to draw fine grooves. Pressing lightly on the surface with the edge and slowly lifting it creates small raised marks. Make three different marks on a single scrap piece side by side, and compare which one casts the darkest shadow. Even with the same tool, changing the angle at which you hold it and the direction in which you pull will change the surfaces that catch the light.
Comparing Light and Shadow from the Front and at an Angle
A white piece may look uniform when viewed from the front, but the grooves can suddenly appear to stand out when viewed from an angle in the light. This is because the illuminated slopes become bright while the opposite sides and grooves fall into shadow. If you can hold the piece, try changing its orientation slightly without moving the light source. If the piece is on display, do not touch it; instead, change your position to see how the surface appears differently.
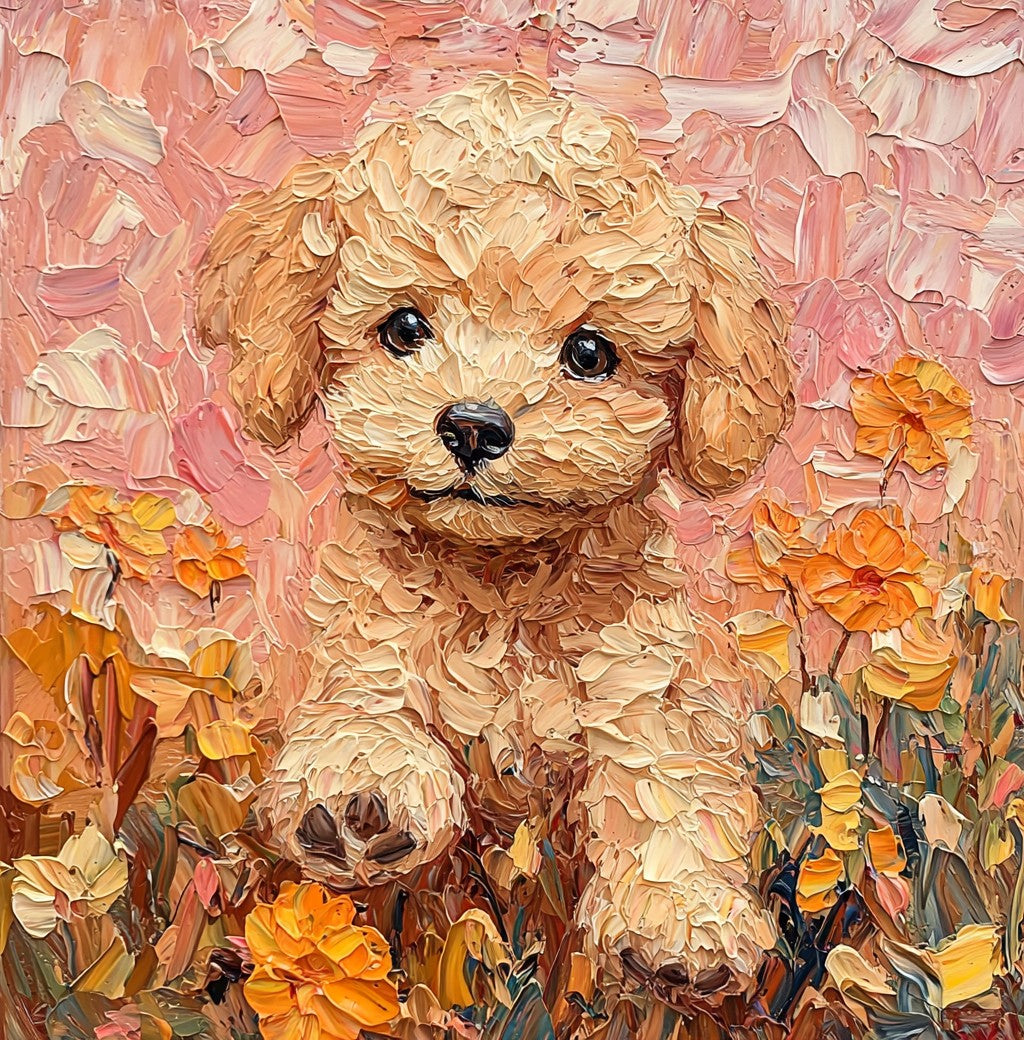
Following a Single Groove from End to End
Choose one groove that appears thin and follow it with your eyes. If the shadow deepens along the way, check whether the groove has become deeper or if there is a raised area beside it. Even grooves that appear to be the same width can cast shadows of different sizes depending on the angle of their sides. If you take a photograph, shoot one from the front and another with light coming from the side at the same distance to compare both the form and the light.
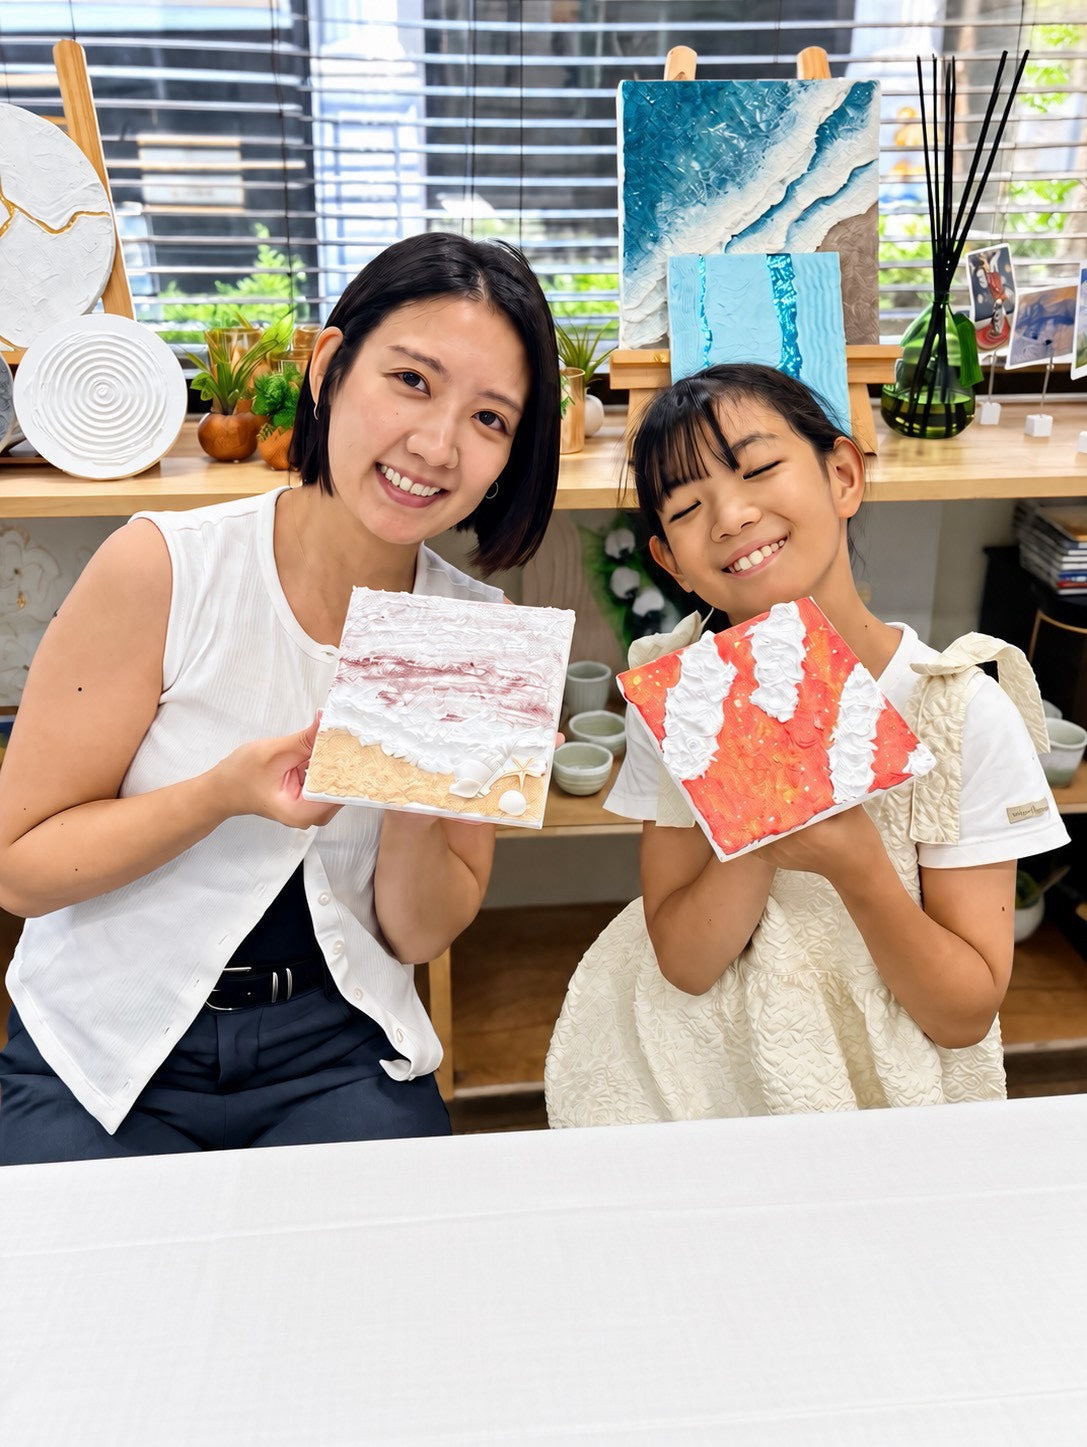
If you want to compare the marks made by the knife yourself, you can check the details of the workshop and available time slots on the ART AND CAFE Shibuya Workshop Reservation Page.
Creating an All-White Landscape with a Small Study
Choose a small support suitable for art materials, and create a loose mound on the left and three thin grooves on the right. Leave the fine lines on the slopes of the mound, and vary the spacing of the grooves between wide and narrow. Finally, decide how far to extend the forms, leaving some flat space. Once it is dry, place a desk lamp to the side and see whether the mound or the grooves catch your eye first. Move the lamp to the other side and see how the impression of the pattern changes when the shadows are reversed.
When making a second piece, use the same three grooves but change only their spacing. If adding details makes the composition feel cluttered, first step back and view the negative space as one large flat area. When a section with concentrated patterns sits next to an area with few shadows, it becomes easier to see the characteristics of both.
Frequently Asked Questions
When Should I Apply Color?
Depending on the materials used, some allow you to mix paint in at the beginning, while others can be painted over after drying. Check the instructions for the art materials you plan to use, and compare how both methods look on a scrap piece. When applying color to dry texture, lay the brush flat and paint only the raised areas to leave the original color in the grooves. If you want to add color to the grooves as well, test it first on a small area to see where the contrast between the shadows and colors is most visible.
Does Applying a Thicker Layer Make the Texture More Visible?
Even thin marks will cast shadows if light hits them at an angle. When applying a thick layer, check the appropriate primer, the maximum thickness that can be applied, and the drying conditions for the material. Deviating from the recommended conditions may cause cracking and other issues. For your first time, stick to a small study, and observe not only the surface but also the areas where material has pooled along the edges.
When Should I Finish the Piece?
Set it aside for a while and step back, then choose one mound or groove that catches your eye first. If you want to add more lines nearby, draw them on a small piece of paper and hold it against the side of the piece to imagine how it would look. If you are unsure, take a photograph while both flat and textured areas remain, and look at it again the next day. This can also help you decide which tool marks you want to keep for your next piece.
Does the Appearance Change Depending on Where It Is Displayed?
In a place where morning light enters through a window from the side, the shadows of the texture may appear long. If you move it to a place where it is mainly lit by ceiling lights, the bottom of the grooves may appear bright. Before deciding on a display location, place the piece in two potential spots and view it from the same distance. The place where the texture is most clearly visible may be different from the place where it blends best with the room as a whole. Comparing the white surfaces you left during creation with the raised areas will help you decide what kind of light you want to view it in.
Reference Materials and Related Articles
GOLDEN Artist Colors|Molding Pastes
Part 6: What Is Abstract Art?・Part 7: What Is Fluid Art?
ART AND CAFE Shibuya|Texture Art Workshop Availability and Reservations